
It’s 44C in the shade today – the perfect temperature to set yoghurt. But not so great for being outside. So let’s stay inside, make our yoghurt, then set it outside. Win!
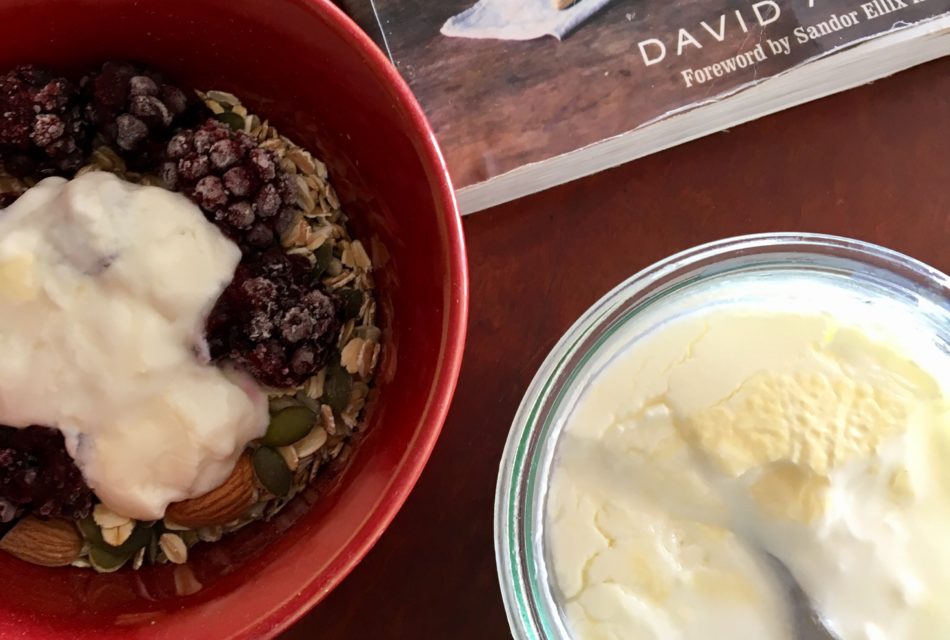
I was lucky enough to learn this technique from the very clever David Asher. David’s one of the global young guns intent on keeping traditional methods of food preservation alive and accessible to all. Legend! As are the team at Milkwood who lured him to Oz to deliver the workshop.
Step 1: Get your stuff together
Ingredients: 4L whole – fat milk, preferably unhomogenised and 3/4 cup yoghurt. That’s it!
Equipment: Big heavy based saucepan / stock pot; thermometer; stirring spoon ; clean lidded glass jars; a really hot day or some other way to keep the milk at 39C – 43C e.g an esky filled with warm water or a warm oven.

Step 2: Heat the milk
Use the best quality milk you can get your hands on. I so wish we had a cow called Vanilla, but we don’t – yet. So we buy local, single origin (meaning all from the same dairy) milk on the day it is delivered to our local supermarket.
Slowly warm the milk to 85C, stirring pretty much non – stop. A problem for we hyper -actives I know but necessary to stop it burning or a skin forming. Cook at this temp, stirring constantly for 1/2 – 1 hour (longer is better giving you thicker yoghurt). I know this sounds painful but get creative. You can stir and read, or do stuff one-handed on your computer or bribe somebody else. It’s so worth it!
Step 3 : Cool the milk
Take your pot off the heat and continue stirring (and reading or whatever) until the milk temperature falls to around 43C. The constant stirring will stop a skin forming and give you thicker, creamier yoghurt.
Step 4 : Add the yoghurt
Carefully add your 3/4 cup of yoghurt or home-made milk kefir to your cooled milk to introduce the probiotic microbes that will magic your milk into yoghurt.
Kefir is our favourite because it contains many, many more species of probiotic microbes than shop bought yoghurt. We use a clean dipper to scoop up around 1 cup of the cooled milk and add the kefir or yoghurt to that, mixing well before stirring it into the rest of the cooled milk.
Pour this mixture into your glass jars and lid them.
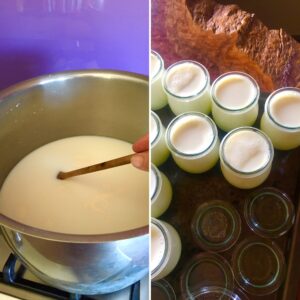
Step 5: Incubate at 39C – 43C for 4 to 12 hours,
Pop your jars into your warm esky / warm oven / hot verandah and wait for the magic to happen. After around 4 hours check the jars for signs of setting without disturbing them too much. Once set, pop it in the fridge where it will keep for a good couple of weeks or longer, depending on the temp of your fridge.
That’s all there is to it! Thick, luscious probiotic yoghurt to enjoy in all of your fav dishes – without the additives!
If you would like to learn more in a fun, hands on atmosphere that includes lunch with tastes of this and other ferments click on the workshop tab on this website. You’ll find a workshop outline, dates and times for all our classes and you can book online if you feel inclined.
Happy fermenting!